And asking Google “What do I need to start a photography business?” will yield an even bigger equipment list! But when it comes to gear, the wants usually far exceed the needs. It’s easy to fall prey to “shiny object syndrome.” Don’t chase every new thing and spend more than you need. It’s a good idea to start with the basics. Expand on that as you start to grow your income through photography. Here is a list of the most important equipment when starting a photography business. [Note: ExpertPhotography is supported by readers. Product links on ExpertPhotography are referral links. If you use one of these and buy something, we make a little bit of money. Need more info? See how it all works here. — Ed.]
What Do I Need to Start a Photography Business?
The obvious truth is, you’ll need some photography equipment. But we’ll talk about which ones are absolutely required so you don’t end up spending more money than you need to.
Full Frame Camera
If you want to shoot professionally, you need a full frame camera. A model like the Canon 6D is a good entry point for serious photographers. It’s the least expensive full frame camera in the Canon lineup. The price of a camera will in part be dictated by the size of the sensor. A cropped sensor is cheaper for camera manufacturers to make. This allows good cameras to be available to a wide variety of consumers. This kind of camera will not give you the resolution you need. Your lenses will give you different framing on a camera with a cropped sensor than they will on a full frame. When you put a 50 mm lens on a camera with a crop sensor, it shoots more like a 96 mm because of the crop factor. On a full frame camera, a 50 mm is a 50 mm.
A Couple of Lenses
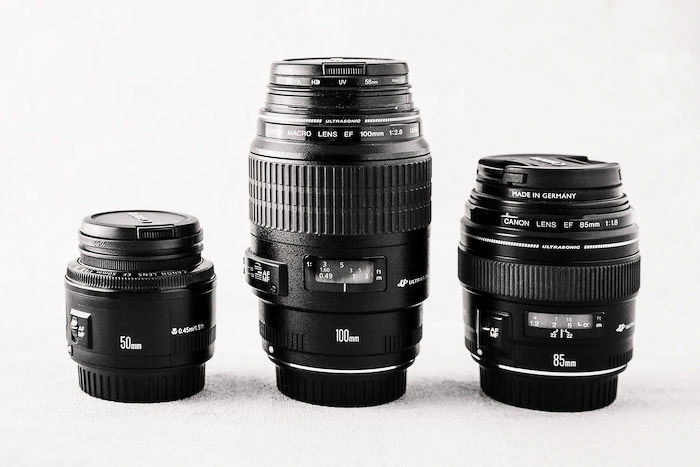
Lenses are more important than the camera you’re using. You can have an old, less expensive camera model. If you have a couple of good quality, fast lenses, this will still give you the sharp, high-quality imagery that you need as a professional. It’s easy to get caught up in lens lust. But you don’t necessarily need a lot of lenses in your kit. It will depend on the genre you’re shooting. You may opt for a couple of prime lenses. Or you can choose one prime and a zoom lens to give you more versatility. Prime lenses are sharper than zoom lenses. They have fewer moving parts that affect the optics and final quality of the image. There are some great zoom lenses like the Canon L-series 24-70mm. It’s very sharp, but it also comes with a high price tag. The bottom line is when you are investing in your photography business, lenses are where most of your budget should go.
Sturdy Tripod
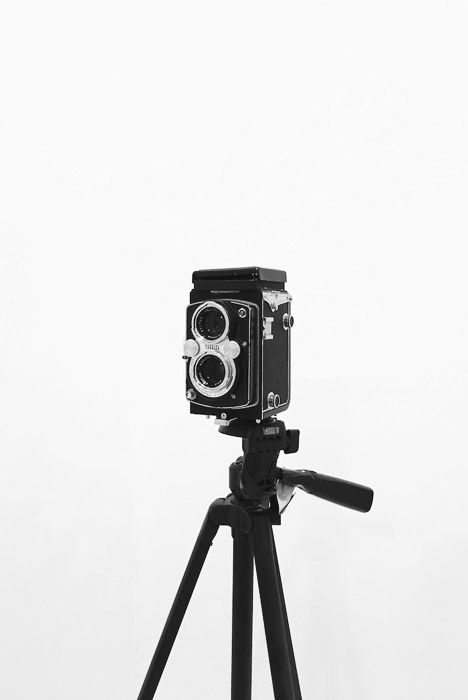
The extent you work with a tripod will depend on the genre you’re working in. In most cases, you’ll need a tripod so that you can work at lower shutter speeds In the case of food or product photography, a tripod will ensure that you have consistent framing from image to image. It will free up your hands to compose and style your setups. If you’re a landscape photographer, you’ll need to shoot at angles close to the ground. You’ll need a tripod with a minimum height. A food photographer might want to get a tripod with an overhead extension arm to do tablescapes and 90-degree shots. A tripod is another important investment. Like lenses, they will last you forever if you take care of them. Buy the best you can afford. A $200-$300 dollar tripod may not give you the stability and features that you need. It also means you’ll need to buy another one a year down the road.
Memory Cards
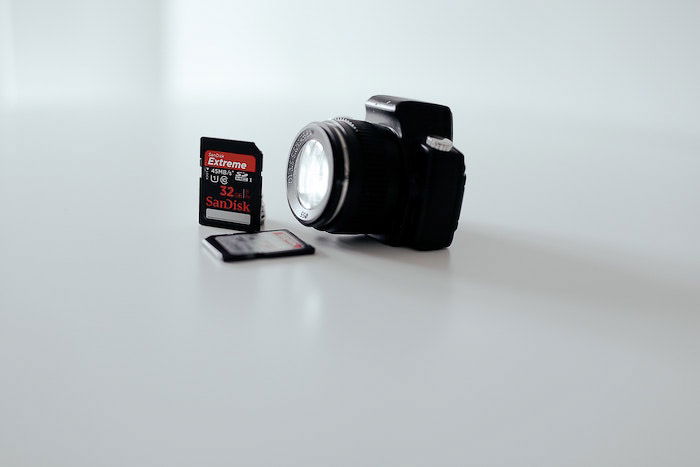
You’ll need to have at least a couple of memory/SD cards. If you’re doing high-volume shooting like wedding photography, you’ll need to have several. Get memory cards with a higher number of gigabytes. They are a bit more expensive than cards with fewer gigs. But you won’t need as many.
Memory Card Reader
You will also need a way for your computer to read the images off your camera. You can use a USB cable. A memory card reader is a quick and portable option. Some card readers help you speed up your photography workflow. They enable simultaneous transfers from multiple cards These days, most readers are compact in size. You can slip them into a small pouch or a pocket in your photo bag. Plus, you don’t need any external power connector. The reader is conveniently powered by USB power.
Extra Batteries and Battery Charger
Again, this depends on the volume you’re shooting. You should have a couple of spare batteries for when you’re on a shoot. If you’re shooting in a studio, you can recharge the battery immediately while you use a freshly charged one. That way it will be ready to go when you need it again. And you won’t have to remember to charge it when you get one.
Lens Filters
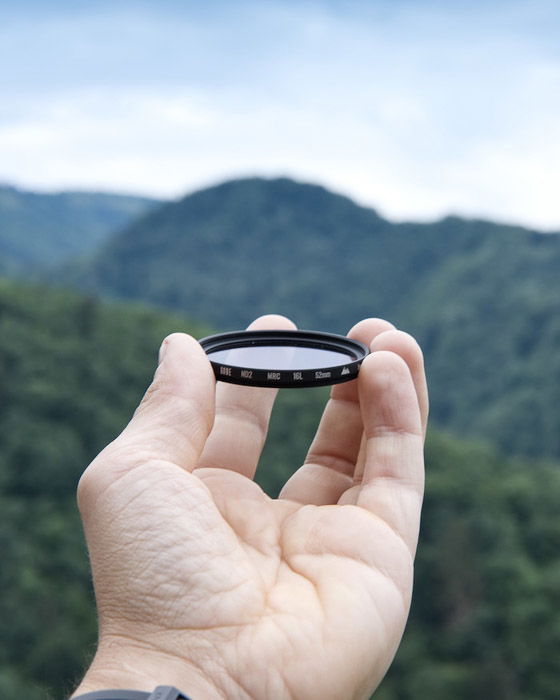
Lens filters, like a polarizing filter or a neutral density filter, will help you achieve certain effects in your photography such as cut down on reflections or boost color. You should have a good UV filter on your lenses at all times. In the days of film, some film was very sensitive to UV light. If you didn’t have a UV filter on your lens, you’d get a blue haze in your pictures. Digital cameras are not sensitive to UV light. It’s a good idea to have a UV filter on your lens to protect it from dust, sand, scratches, etc. Make sure you get a very high-quality filter. There is no point in putting a cheap, low-quality filter on an expensive lens. You will get a drastic reduction in image quality.
Lens Hoods
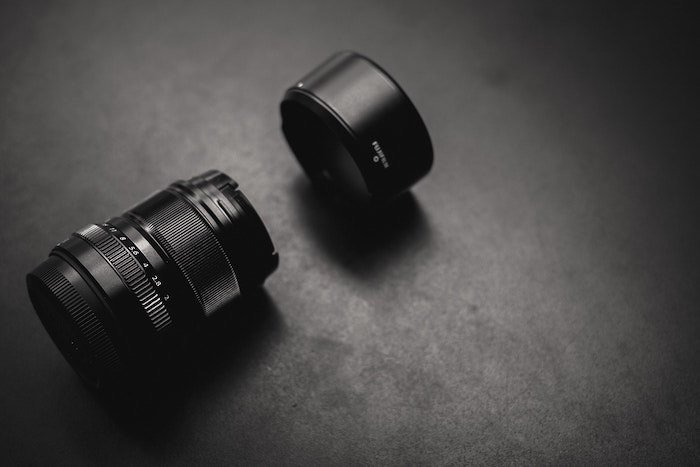
A lens hood for each of your lenses has a couple of functions. The primary use for a lens hood is to prevent light from hitting the front lens element from the sides. If this happens, it will reduce contrast and cause flare. In addition, a lens hood can also protect your lens from damage. One time my camera took a nosedive off my desk. The fall cracked my UV filter. Because I had a lens hood on, there was no damage sustained to the body of the lens. The hood took the brunt of the impact. For this reason alone, a lens hood is an important purchase.
Backup Drives
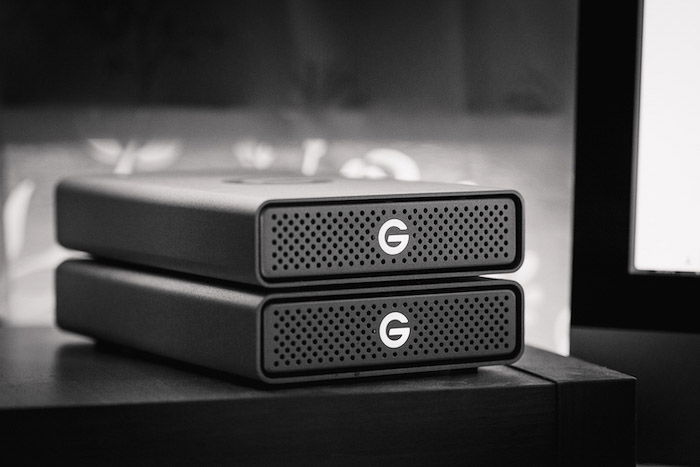
As a professional photographer, you need to be backing up to at least three places—a couple of hard drives and a cloud system. Each photographer has different preferences around this part of their workflow. Some have larger drives, say 4TB each. Others have smaller, more portable drives that they can carry around. Portable drives are great if you keep a drive off-site, like many photographers do. That way if their place gets robbed or burns down, they won’t lose their images. If that sounds like overkill or paranoia, realize that these things do happen. It’s better to be safe than sorry.
Color Calibrator
When looking at photos on the Internet, we’re not all seeing the same thing. Most screens are too bright and have a default color the monitor set by the manufacturer. The quality varies between models and brands. These colors will also change as the monitor gets older. If you’ve ever printed your images and were unhappy with the results, it’s likely that your screen wasn’t properly calibrated. A color calibration system like those made by ColorMunki or Spyder Pro are an important part of every pro photographers toolkit. This device will help you create the best color profile. Lightroom, Photoshop, and color-managed browsers like Safari will use it for your images. You should do this calibration every couple of week for the best results. I calibrate my monitors every time I edit a shoot. You can learn how to calibrate a monitor for photography here.
Color Checker
There is a difference between good color and accurate color. A color checker is the only way to accurately replicate natural skin tones. Color Checker Passport by X-rite analyzes the color checker in your image for overall color and tone. It then creates a custom DNG profile for your camera, lens, and lighting combination. Your camera, the build of your lens, and your lighting all affect color. Your choice of lens can directly influence the quality, color, and saturation of your images. Cheaper lenses are notorious for color shifts. With this device, you can rest assured that your colors are true to what they look like in real life.
Grey Card
A grey card is the easiest way to help you get your white balance right 100% of the time. All you need to do is take a picture with your grey card in the shot every time the lights scenario or shooting location change. Use the White Balance Eyedropper tool in Lightroom to select the color. Then you can sink your white balance across the set of images. Get a good quality grey card that will last. The card has to be 18% and very accurate to help you get the right white balance. Be wary of cheap imitations. Any old grey paper won’t do. Note that a grey card will help you get accurate white balance. It doesn’t necessarily account for every single color in your image. A grey card accounts for the overall temperature and tint, not each color individually. Using a color checker helps you adjust for the individual colors, as well as overall color in your images.
Reflector Kit
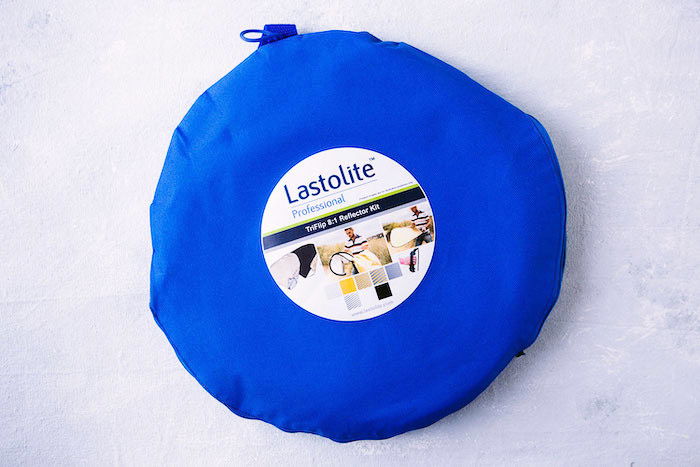
A reflector kit can be an indispensable but relatively cheap part of your photography setup. These are foldable discs that come with gold, silver, white, and black material. You can use them interchangeably, depending on your lighting scenario. The gold reflector adds warmth to your subject, while the silver brightens it. A reflector kit will help you to manage your shadows and direct the light to where you want it. Eventually, you should have a few of these in different sizes, especially in the diffusers. They will help you to soften the light when needed. Diffusion softens the light and affects how much light hits your setup. If you’re working in strong sunlight, a large diffuser will keep too much light from spilling onto your subject and creating hard shadows.
Lighting Kit and Modifiers
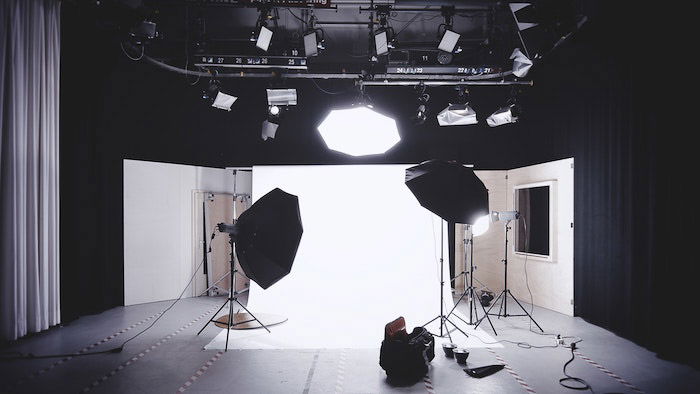
This last one may not be a necessity, depending on the genre you’re shooting in. If you’re a landscape photographer, you won’t need lighting gear. If you do studio work, such as product or food photography, it’s a good idea to have a set of strobes. Some photographers shoot portraits only in natural light. Commercial portrait or headshot photographers rely on studio lights. You don’t have to buy this. You can always rent the lighting you require and put it as a line item in your estimate. This will mean that you’ll need to price every item that you’ll need, from the lights and modifiers to the appropriate stands, and put the total in your estimate. The problem is when you are starting out. You may not be working with a budget that can accommodate several hundred dollars of rented gear. Also, a lot of rental places don’t open early. You won’t have time to pick up what you need, get to your location, set everything up and test it before shoot time. It makes sense to invest in your own lighting and put a small equipment fee in your estimates to cover the investment over time. Lights can be expensive and it’s usually the pricier ones deliver the best light quality. Godox is one brand that has been getting more popular lately because of its lower price point. They offer some good options at the top of their range that do a good job and are way more affordable.
Light Stands
In the photo industry, c-stands are crucial to have. “C” stands for “century.” Commercial shooters have a few of these and rent even more when doing jobs. They are necessary for rigging your camera from above, holding lights, fill cards, diffusers, scrims, etc. If you’re using a strobe system like a couple of monoheads, you’ll need light stands heavy enough that the weight of the heads won’t cause them to topple over. This is where the c-stand comes in. You’ll sometimes need sandbags to counteract the weight of your lighting, or your camera and lenses. Don’t forget that. C-stands come in different sizes and can be folded flat so that you can lay them down. They are on the heavy side. If you’re using light stands to hold your reflectors, then you can buy regular light stands, which will be more portable and lightweight.
Conclusion
Asking “What do I need to start a photography business?” might seem confusing, but it doesn’t have to be. And it might seem expensive. (And to be honest, it’s not exactly cheap, but there’s no need to overspend.) If you buy the right equipment at the beginning of your business venture, you can save money in the long run. Buy only what you feel you really need and get the best you can afford. Once you build up your clientele, you’ll be able to add more equipment and bring in more variety, such as a wider range of lenses. Check out our Organic Marketing for Photographers e-book to avoid beginner mistakes while growing your business!

